
Last week in the Very Basics of Quilting we found out how to prepare our quilt tops for a long arm quilter. This week is all about learning how to quilt it ourselves. I’ll be the first to tell you that I’m not an expert in this area. However, I know enough to be able to finish a small quilt and be proud of it. I’m going to share my super easy tips with you, so that you too can finish a small quilt top on your home machine.
You will need your finished quilt top, a backing just a little bit bigger than the top (for our purposes an extra two inches on each side is sufficient), a fusible quilt batting (fusible on both sides), a water-soluble marking pen and thread.

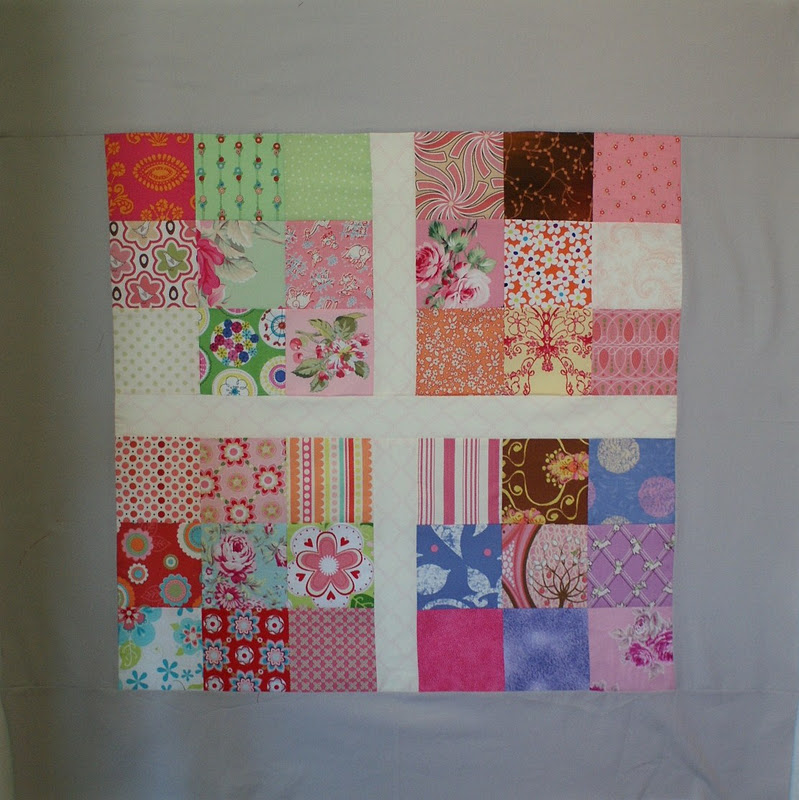
Here is the quilt we’ve been working on with added borders. I thought it was going a little more traditional than I hoped for, so I added six inch gray borders. Pretty, huh?

Lay your batting out very flat on the floor. Scoot the kitty off of it.
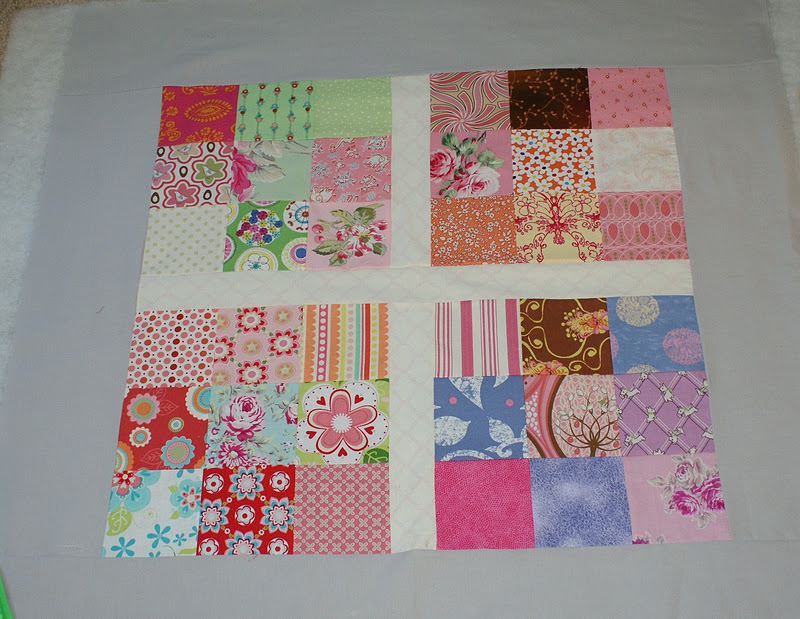
Smooth your quilt top out on top of the batting.
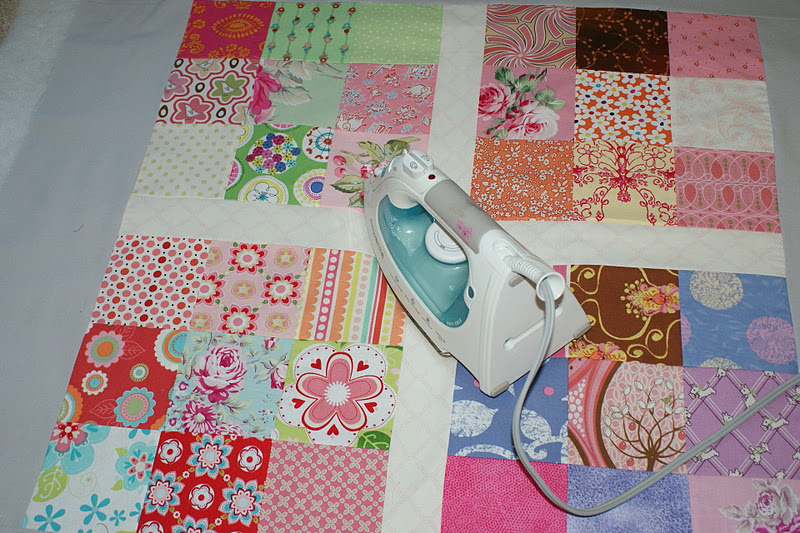
VERY IMPORTANT: Read the directions on your fusible batting. I’m not sure if they’re all the same, but for mine, if you were fusing one side at a time, you did NOT use steam. I *MAY* have fused my quilt to the floor of my sewing room the first time. I *MAY* still have some batting sticking to my carpet. So using NO STEAM, slowly iron the quilt top to the batting, moving your iron from the center to the edges. Always returning to the center and moving outwards.

Go ahead and trim the quilt top to the size of the batting. NEVER do this if you’re sending the quilt to a long arm quilter. But on your machine, you want it even so the batting doesn’t get caught by the feed dogs.

Now flip the quilt fused to batting over, so that the batting is up and place the backing over the batting (right side up of course). Fuse again, just like above except this time you can use steam. Trim again, this time leaving an inch extra all around the back. You can flip it over and steam the front for a stronger hold now.
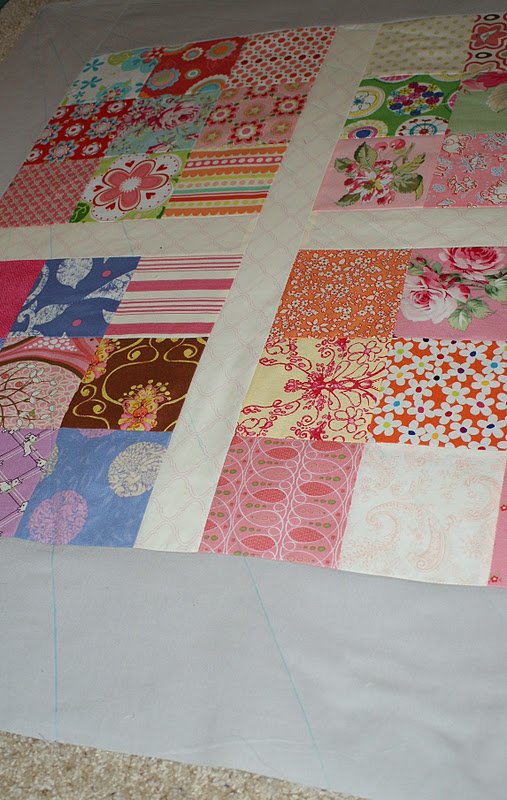
Take your water soluble pen and draw straight quilting lines. If you own a darning foot and want to try freestyle quilting, be my guest. I’ve never been very good at that. But for the simplest quilting, just use straight lines.

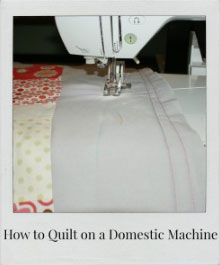
Now if you own a foot kind of like this, called a walking foot, go ahead and attach it to your machine. If you don’t own one, your regular open toe foot will probably work just fine. After all, we fused this baby together pretty well. The walking foot helps keep the same tension on the top fabric as the feed dogs keep on the bottom fabric.
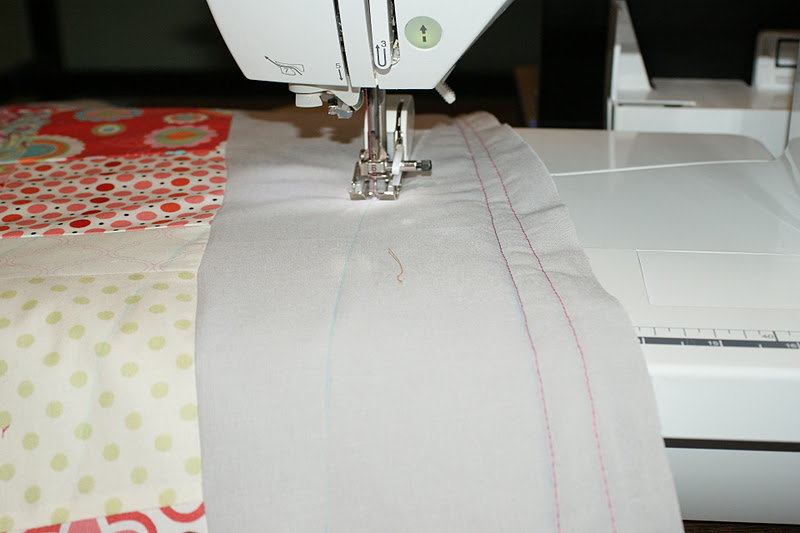
Choose a thread color, either something that will blend in or something that will stand out. I chose a bright pink to contrast with the gray and complement all the pinks in the quilt. Sew down the lines you marked with the pen.

To keep everything smooth, place one hand to the left of your foot and the other on the right, pressing down lightly. My right hand isn’t in this photo because I was taking the picture. When you’ve finished all your lines, look your quilt over and see if you need to add more quilting anywhere. If so go ahead and mark more lines. Square up the quilt by cutting off the extra batting and making sure everything is straight. You may also want to baste any sides that don’t have much stitching, which will make it a little easier when you put on the binding (next week!). After everything is square, remove the water soluble marks by squirting them with a little water.
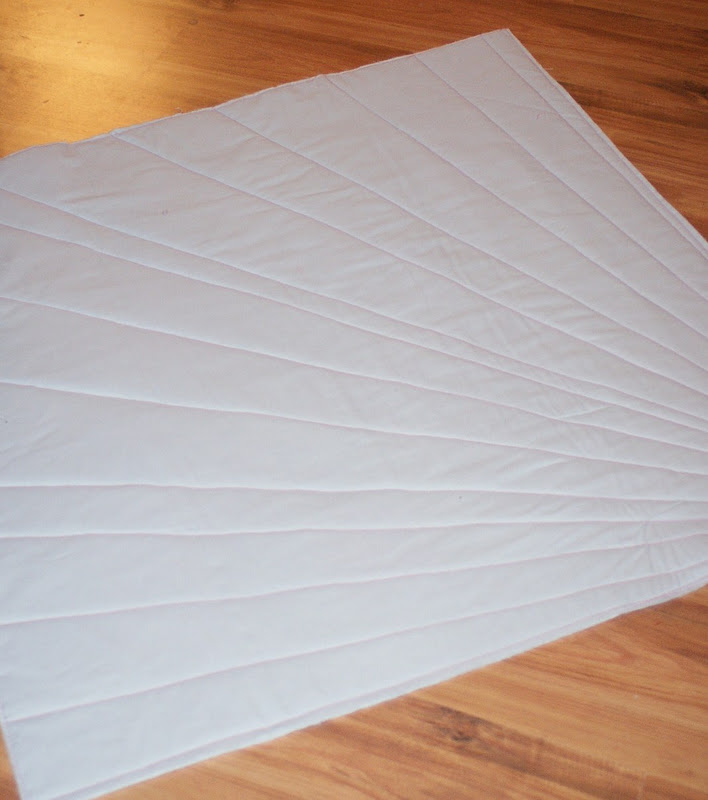
You’ll have a gorgeous back . . .

and front! I hope this will give you the confidence to try quilting yourself.
Love,